GET IN TOUCH.
Want to learn more? For more information or a quote on our products or services, please contact us.
The harmonic cursor settings are available from a pop-up menu in the spectrum window. This cursor also has the ability to move between the lines of resolution. Do this by pressing and holding the SHIFT key while you press the arrows. This behavior is also explained on this pop-up window:

1) Right-click inside of a spectral plot
2) Select "Setup Options"
3) From the center of the new window, check the box for "Harmonic Cursor for Spectrum Plots"
4) Enter a value for the "Number of harmonics to display
5) Click "OK" to close the window
6) Return to the spectrum and move the cursor with either the Arrow keys or the SHIFT+Arrow keys
See the attached video for a short demonstration
There are two green triangle shaped sliders on the waveform. When you click and hold on the slider, you can move it through the waveform. Move these sliders from either end to limit the amount of the waveform that gets FFT applied. As you move the sliders and reduce the number of samples, you can see the reduction in the clarity of the spectrum.
See the attached video for a short demonstration.
Related Articles:
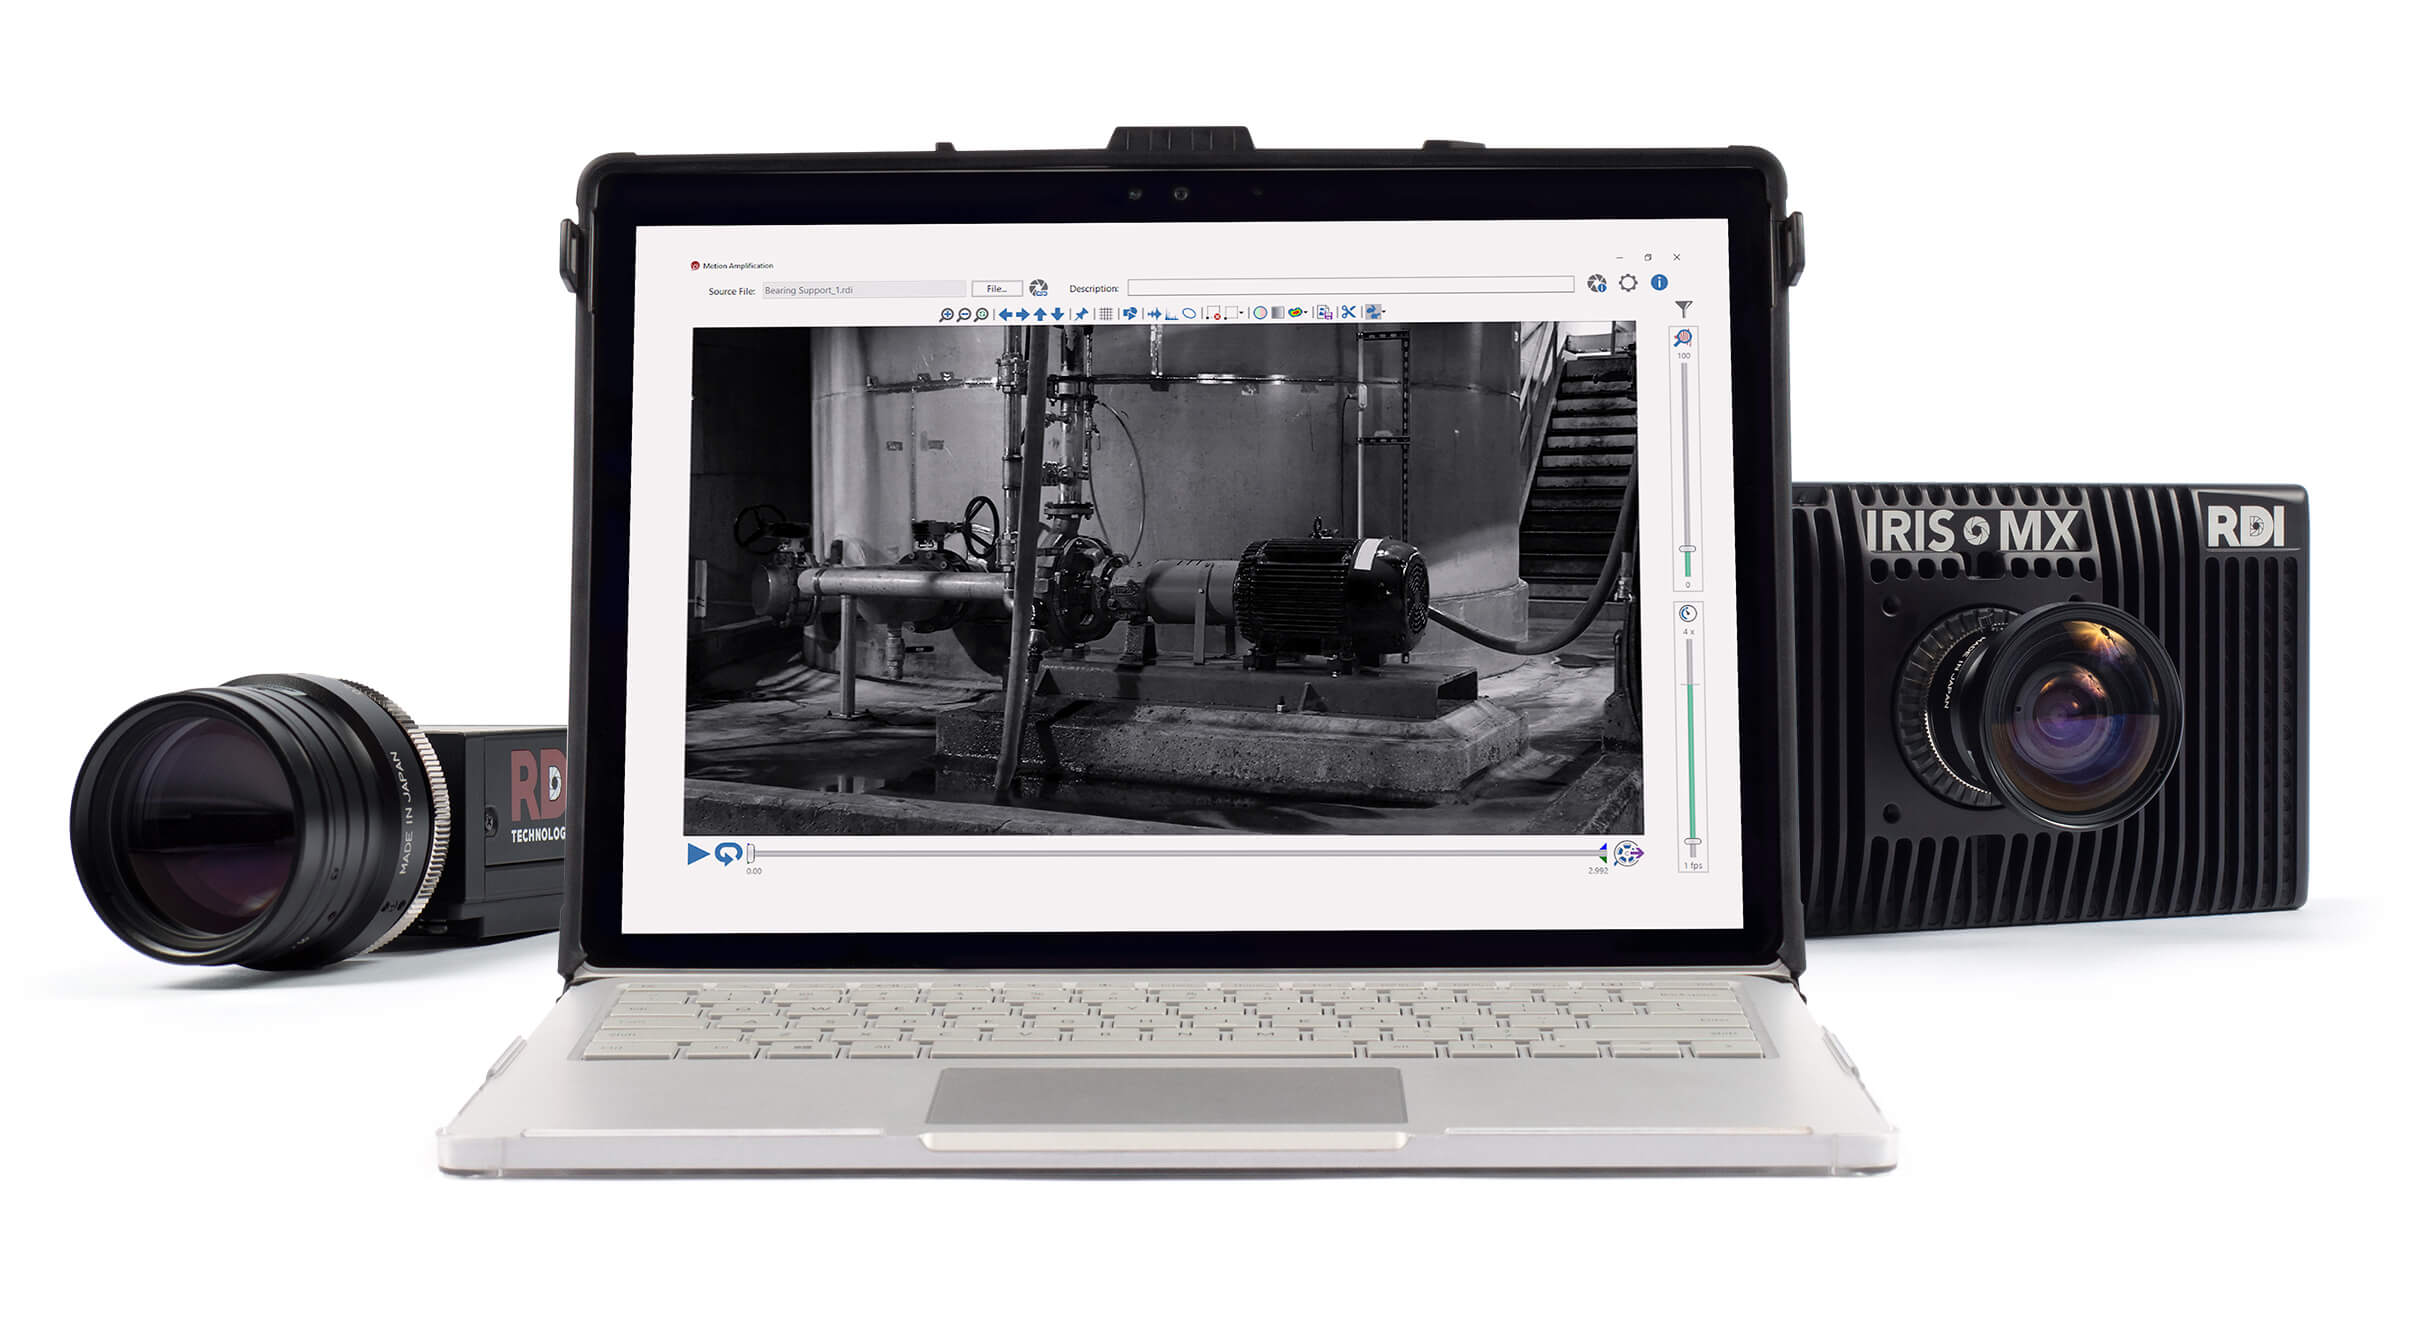
Introduced in Version 2.2, you can choose to "Amplify Later." Should you want to work in the recording by adding annotations, adjusting the contrast, or something else which does not require the use of Motion Amplification®, you can press the "Amplify Later" button which will appear when you first open a recording. You can then either amplify them by moving the Motion Amplification® slider or using Motion Explorer's "Amplify Recording" feature, see the related article listed below.

Related Articles:
Yes.
If you have several recordings which share the need to have common filters applied, Motion Explorer will allow you to apply an existing filter or filters to multiple recordings.
To copy filters from one recording to the other, follow these steps:
1) Select the recording which contains the desired filter(s) from the Motion Explorer tree view
2) Click on the "Copy Filters" icon in the ribbon

3) Select another recording or multiple recordings (by using the SHIFT+Click or CTRL+Click selection methods)
4) The "Apply Filters" icon in the ribbon will become active

5) Click the "Apply Filters" icon
6) A dialog will appear showing you the filters which are found in the first recording. If you want to apply all of the exact same filters, you can simply click "Apply" and allow the software to complete the process.
7) If you do not want to apply all of the filters, you can select only the filters which you do want to apply by changing the status of their check boxes.
8) If you accidentally included a recording, you can deselect it by removing the check from the box in front of its name. The filter will not be applied to unchecked recordings.
9) You can also change the default file name by clicking in the "File Name" window before clicking "Filtered Recording Name".
See the attached recording for a short demonstration.
Want to learn more? For more information or a quote on our products or services, please contact us.